20 Years 20 Videos - Chapter #1
Perhaps my favorite animation trick is the 2.5d parallax.
This technique was originally invented by Walt Disney studios and used in traditionally animated films like Bambi and The Fox and the Hound.
Multi-plane Camera Effect
The technique combines 2d animation in a 3 dimensional space.
This is often called. 2.5d parallax.
The technique was invented in the 1930s by Disney. Background artwork murals were painted and separated in space which we refer to in After Effects as depth or Z space. Using a multi-plane camera and multiple layers of artwork creates the illusion of depth and a grander space. Combining depth-of-field and lighting effects creates a cinematic exposure of an animated world. Check out this explainer video from Walt Disney himself.
Steps for prepping imagery for 2.5d parallax in After Effects.
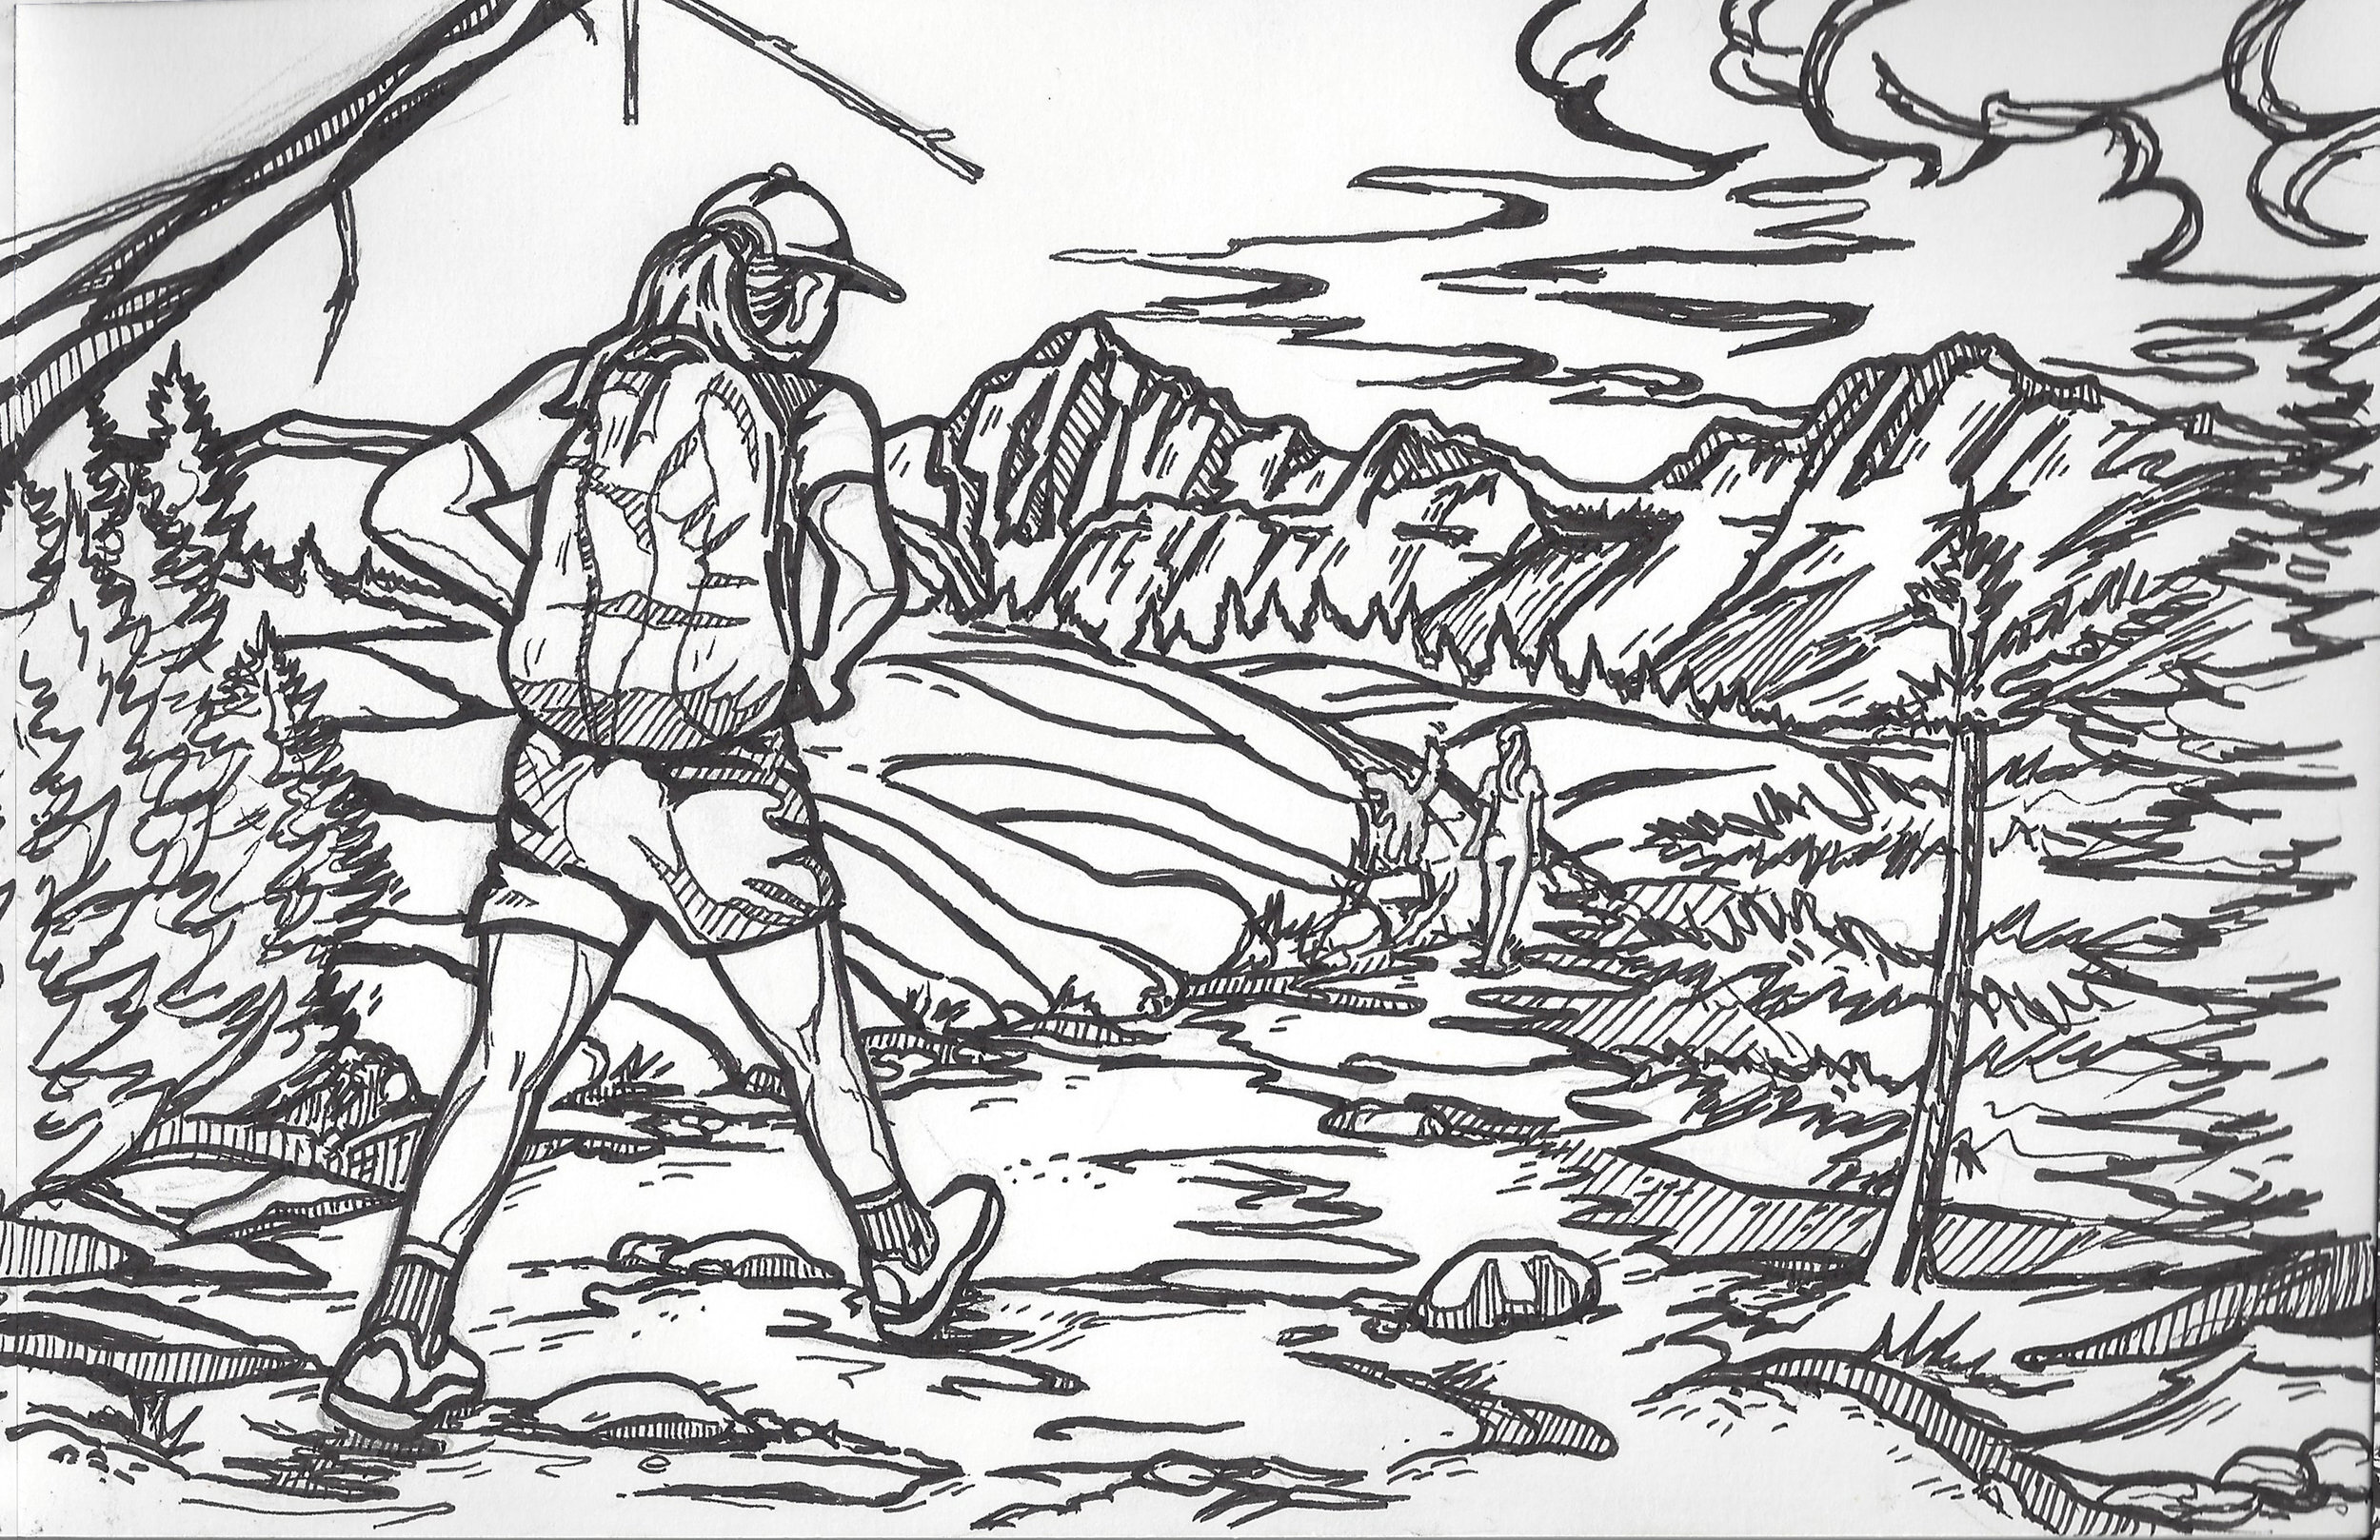
The artwork either photography of illustration needs to be composited. Compositing is a process taking finished artwork and cutting out key elements to position each on their own layer. Imagine cutting pieces like the hiker below out of a sheet of paper. Each panel needs to be filled in as the parallax effect will show some of the space behind foreground art due to the camera movement.
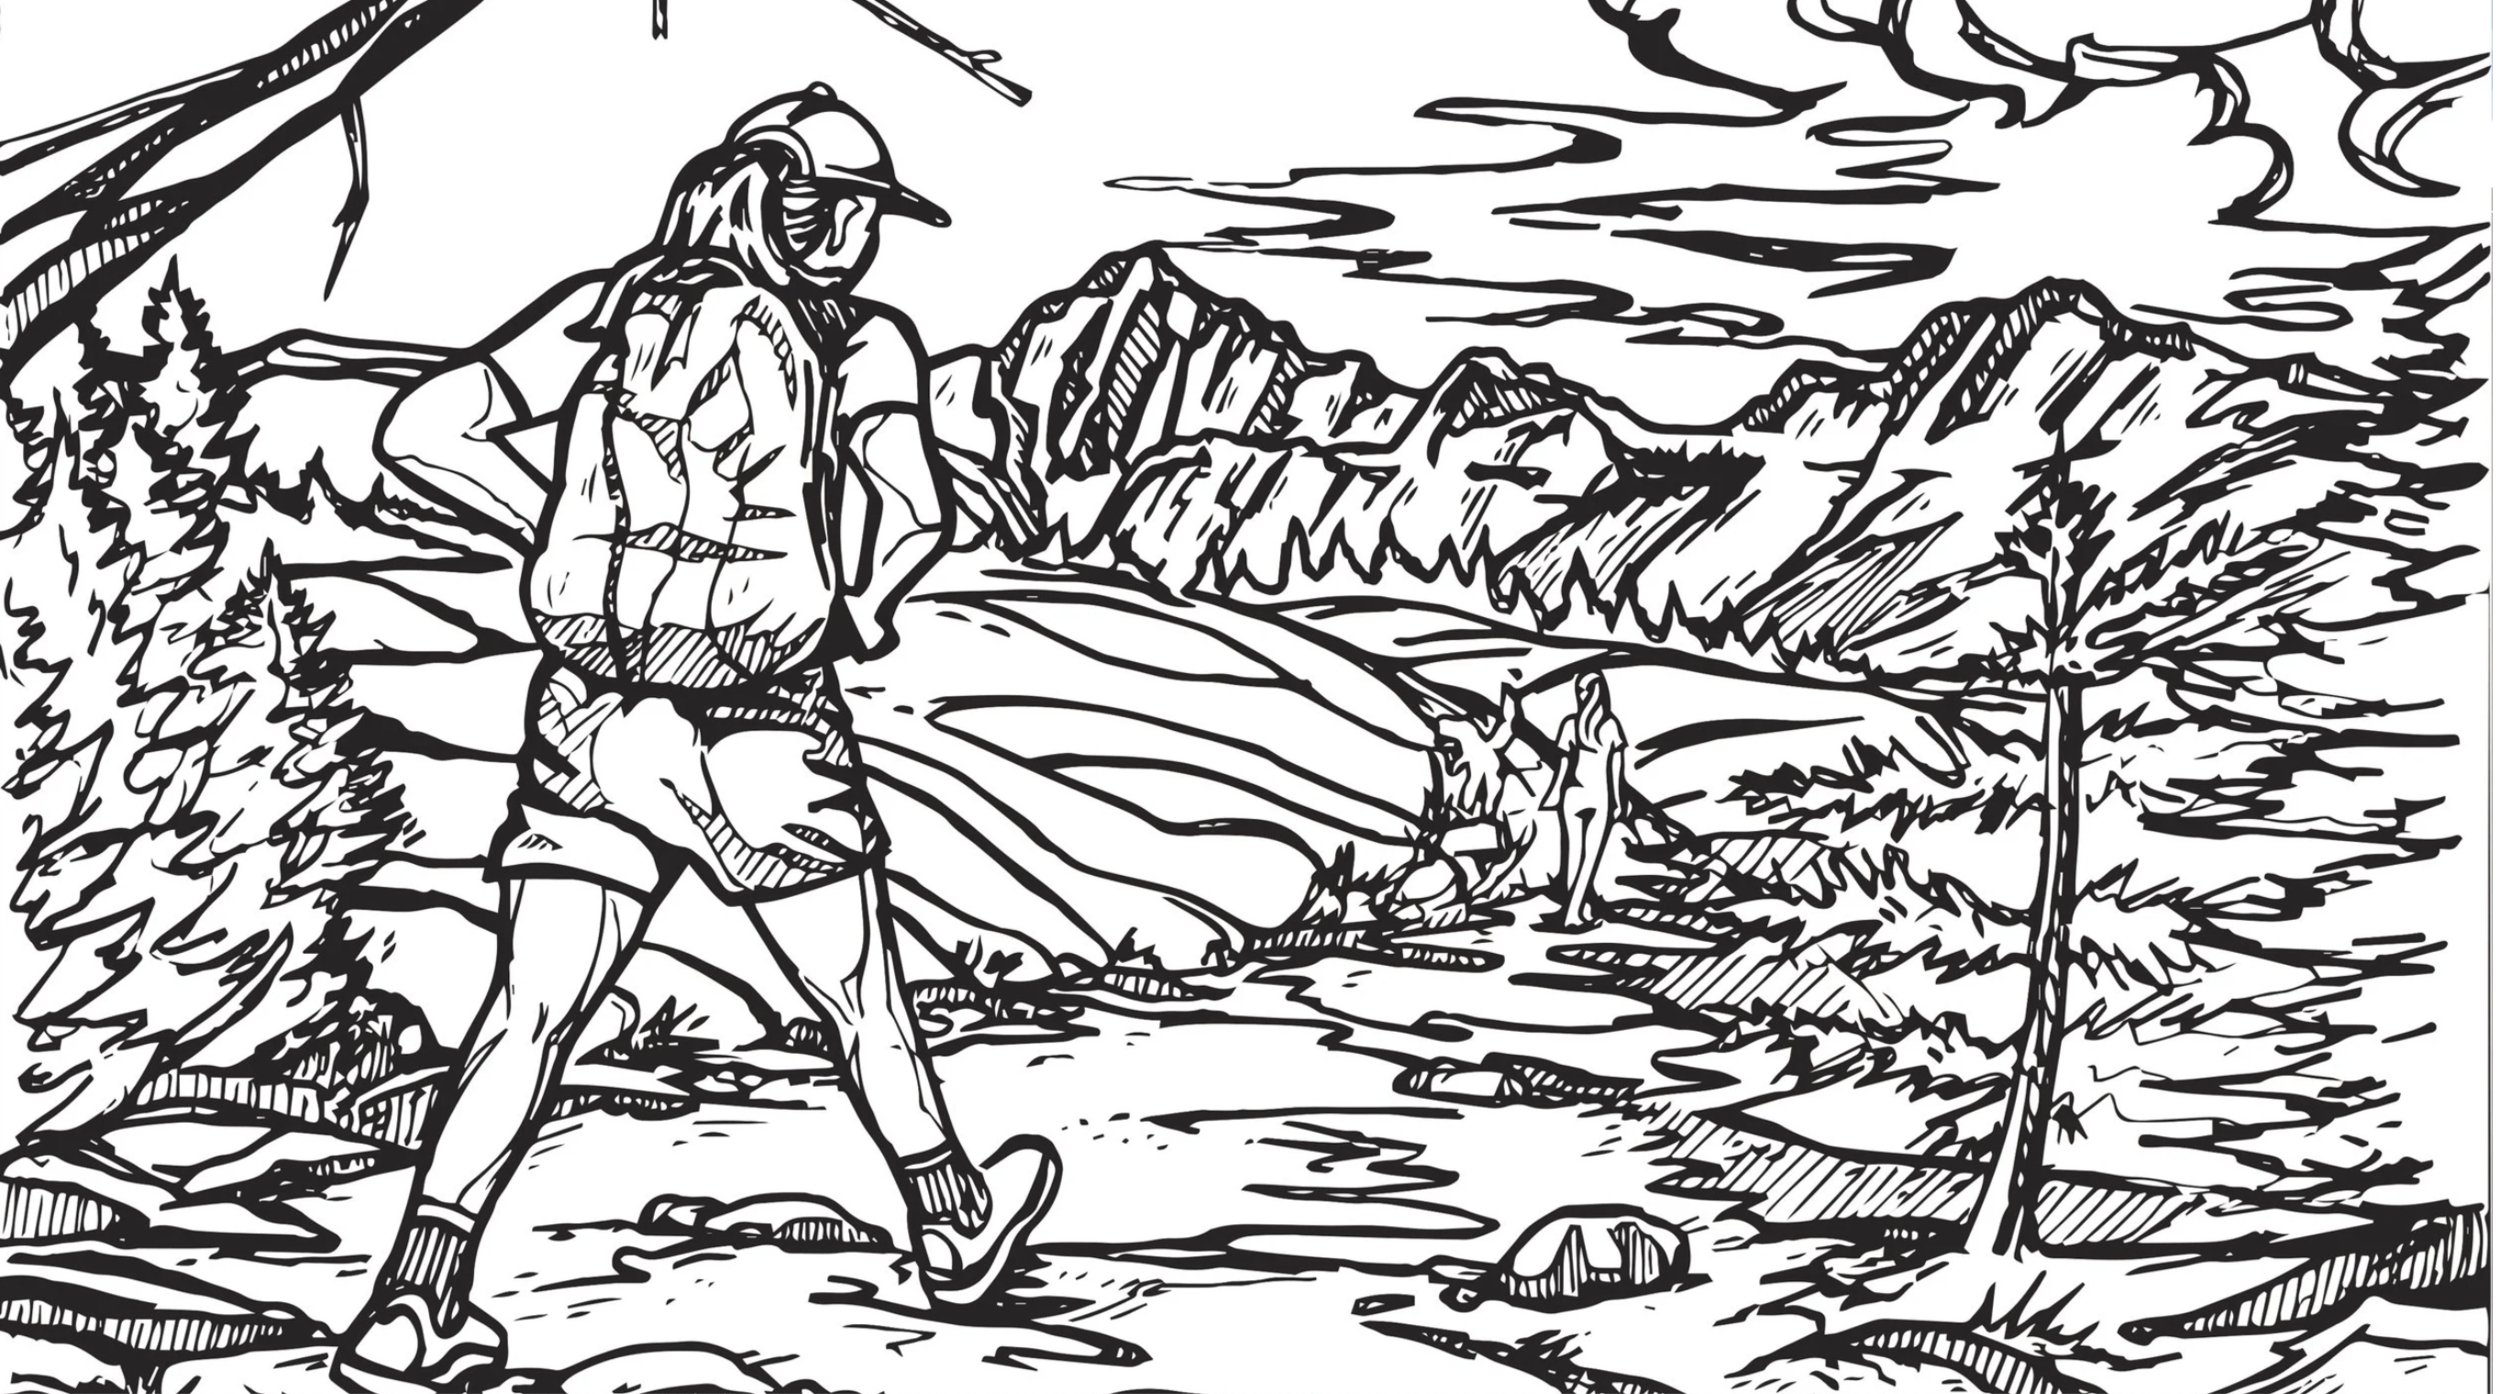
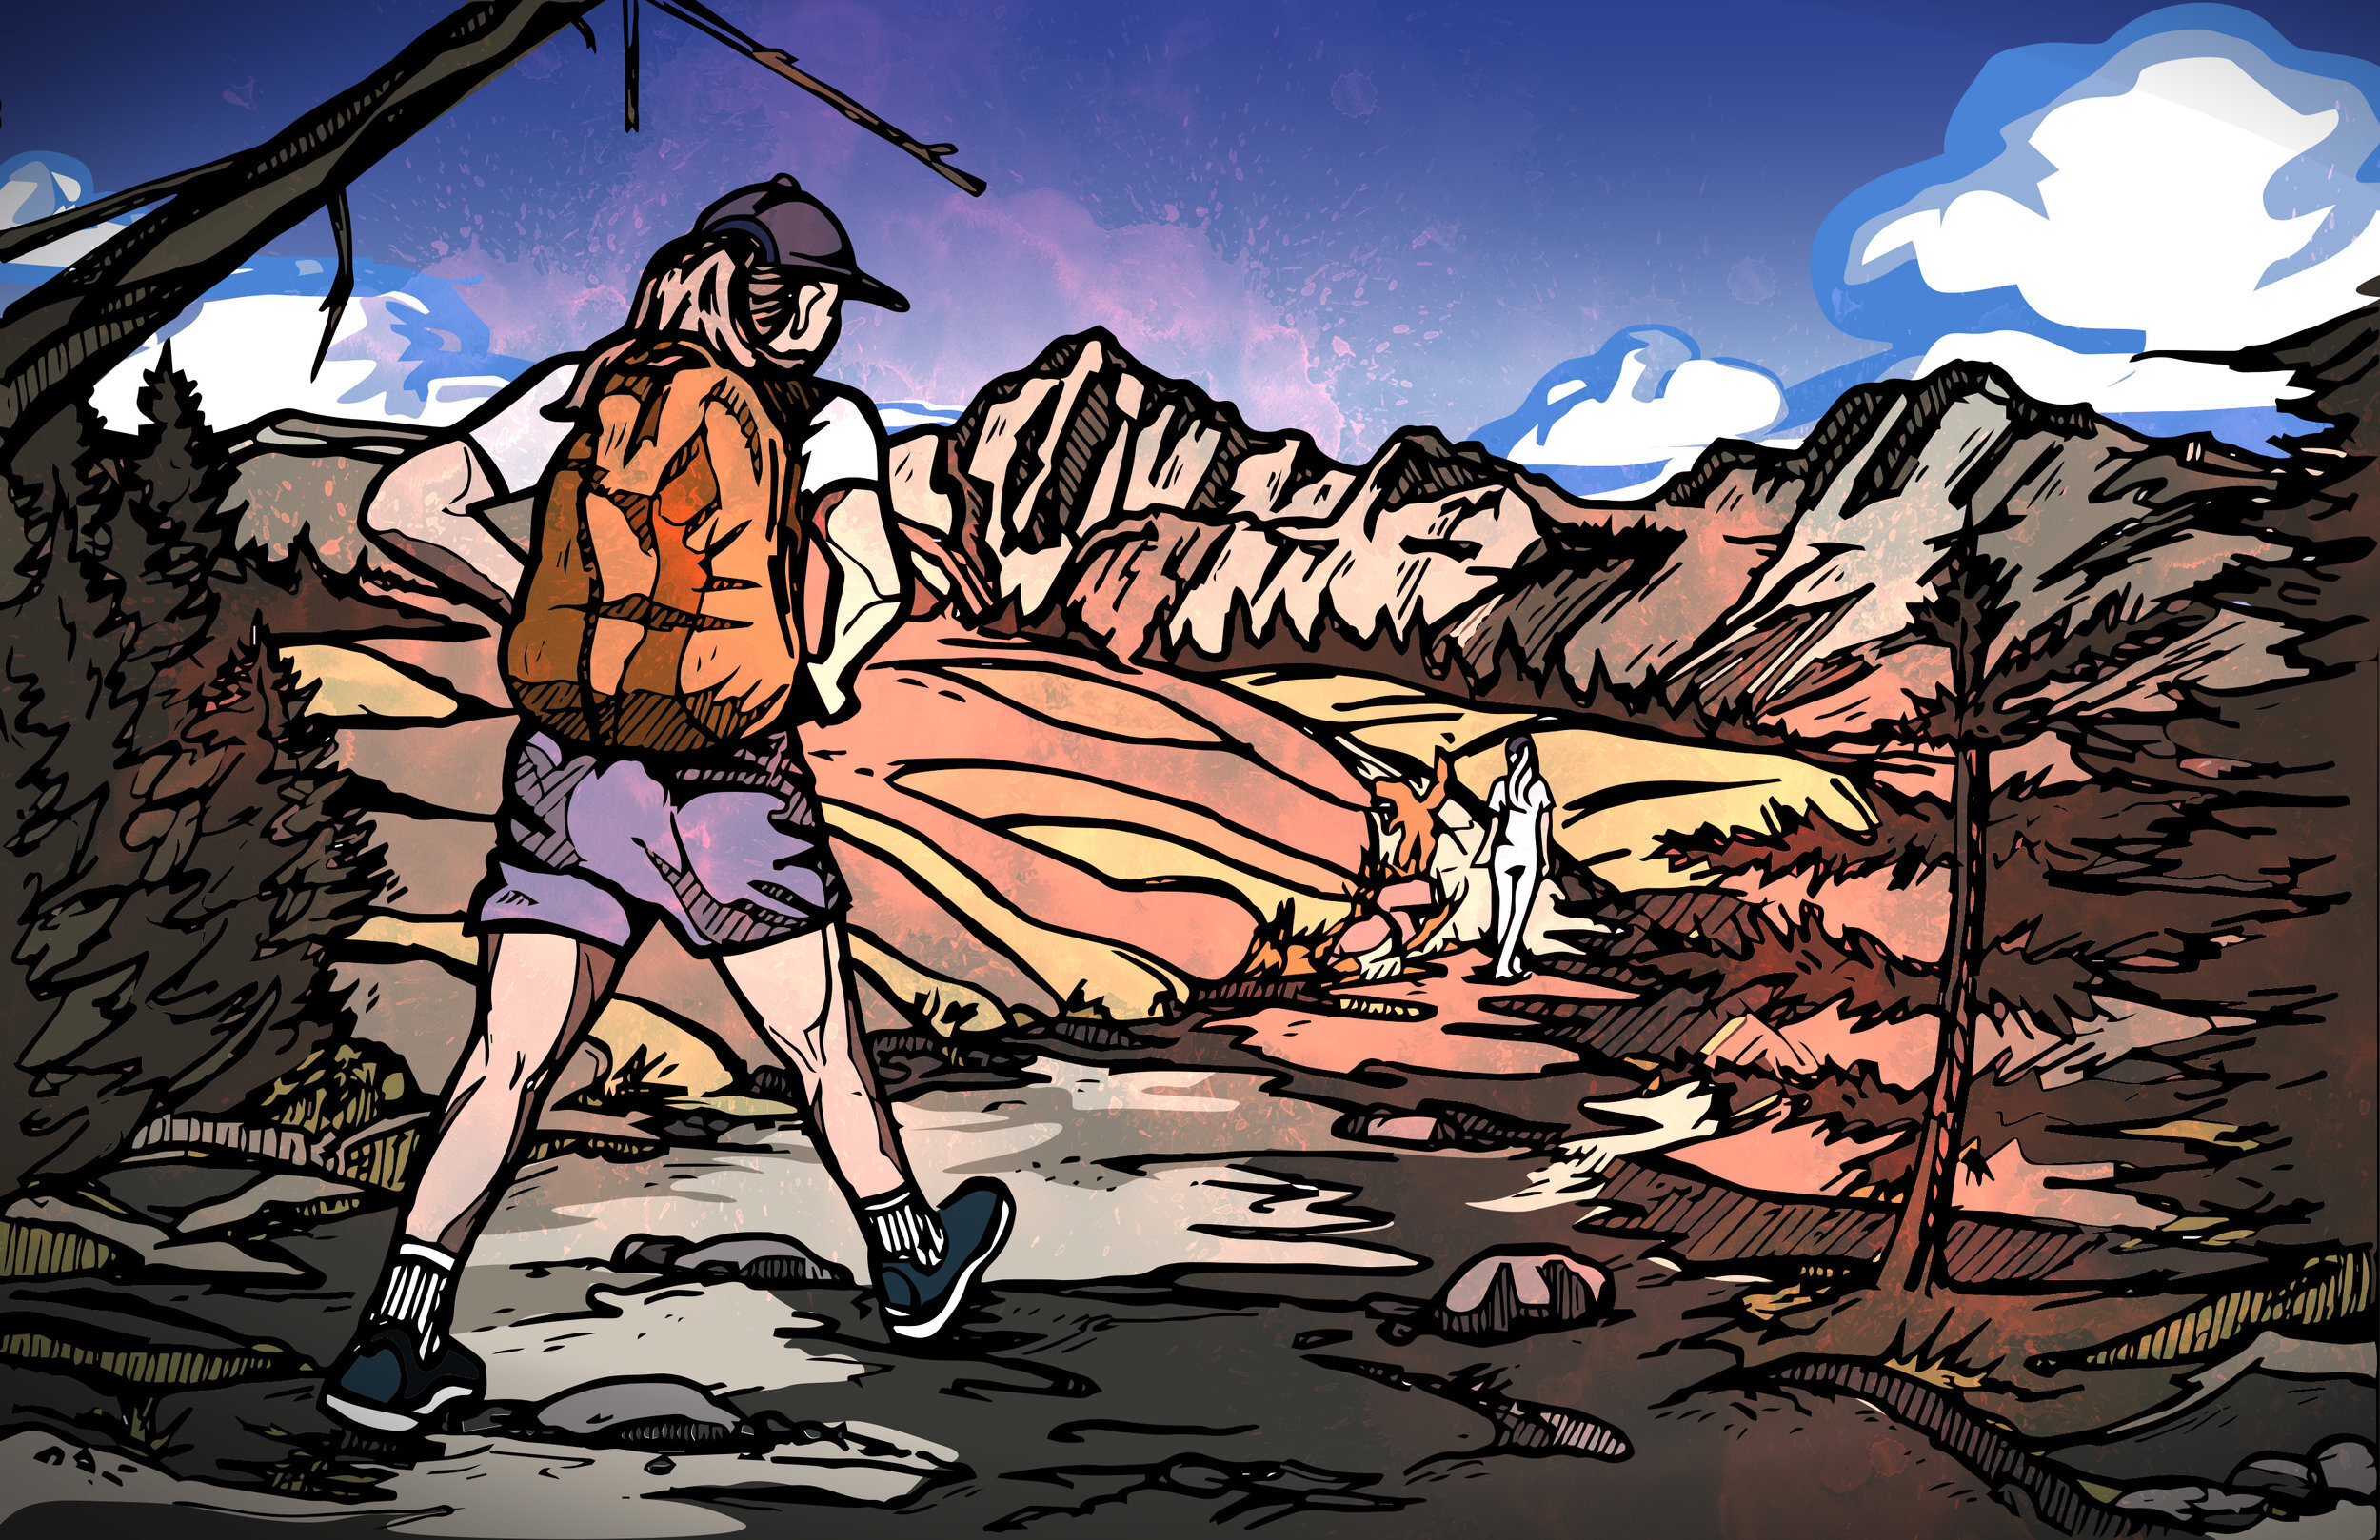
When each layer is separated (typically done in Adobe Illustrator for vector artwork, like this example or Adobe Photoshop for bitmap artwork) each panel or layer will be positioned in Z space. This depth creates a diorama like space and the multi-plane effect.
Lighting effects like a point light are added for spatial reference. The camera in After Effects can be suited with a variety of lenses similar to what you would have on a DSLR. I prefer to move the camera to create parallax rather than moving the layers like the way Disney’s multi-plane camera works.
Certain layers that have movement like the two hikers and dogs in this example are animated in the scene with a fixed depth. You can see additional movement beyond camera parallax and lighting with the two hikers. The closer hiker is animated using the puppet tool in After Effects. This tool takes a series of fixed points that you assign to joints or articulation spots. The point positions are established as key frames. Movement of points interpolates the pixels between points creating movement. This technique works for subtle movement like a slow motion effect. Complex perspective or dynamic movements will create a distorted exaggerated effect that can give away the trick. Subtlety is key with the puppet tool.
More advanced articulation can be achieved with character rigging plugin for After Effects like Duik.
Complex movement and perspective beyond that can be achieved by 3d modeling or frame-by-frame animation where each frame is a different progressive piece of artwork like traditional Disney animation.
More on that next time.
Cheers,
-Bryan
Click to see examples of how we use drawn animation.
Tap/Click on the image below to see illustration 3 steps